Factory Reset AirPods Pro
Why You Might Need to Factory Reset AirPods Pro
AirPods Pro are some of the most advanced wireless earbuds made by Apple. They offer premium features like Active Noise Cancellation, Transparency Mode, adaptive EQ, and seamless connection with Apple devices. Despite their advanced design, users may sometimes face issues such as connection problems, pairing failures, charging bugs, or sound imbalance. Additionally, if you’re planning to sell or give away your AirPods Pro, it’s important to reset them to remove your personal data and disconnect them from your Apple ID. A factory reset ensures your AirPods are clean, ready to use, and free from lingering software or connectivity issues.
What Happens During a Factory Reset
When you factory reset your AirPods Pro, it erases all the saved settings and pairing data. They will be restored to the state they were in when you first took them out of the box. This includes removing saved Bluetooth connections, custom controls, and name settings. However, a reset does not remove the Activation Lock. If your AirPods Pro are still linked to your Apple ID, they will be locked under your Find My network. In that case, the next user will not be able to pair them until you remove them from your account. So, for full ownership transfer, resetting and removing them from iCloud are both necessary.
Things to Check Before You Reset
Before you reset your AirPods Pro, make sure of the following:
- Both AirPods are placed inside the charging case
- The case is charged, or at least has enough battery
- You are ready to remove the AirPods from your iCloud account if needed
- You have about 1–2 minutes of time to complete the process
Step-by-Step Guide to Factory Reset AirPods Pro
Step 1: Place AirPods in the Case
Put both AirPods Pro into the charging case and close the lid. Wait for about 30 seconds. This helps ensure the AirPods reset connection to the case properly.
Step 2: Open the Lid
After waiting, open the lid of the charging case. Keep the AirPods inside the case — don’t take them out yet.
Step 3: Press and Hold the Setup Button
On the back of the charging case, you’ll find a small round button. This is the setup button. Press and hold it for about 15 seconds until the LED light flashes amber, then white. If the light flashes white continuously, your AirPods have been reset and are ready to pair again.
Step 4: Reconnect to Your Device
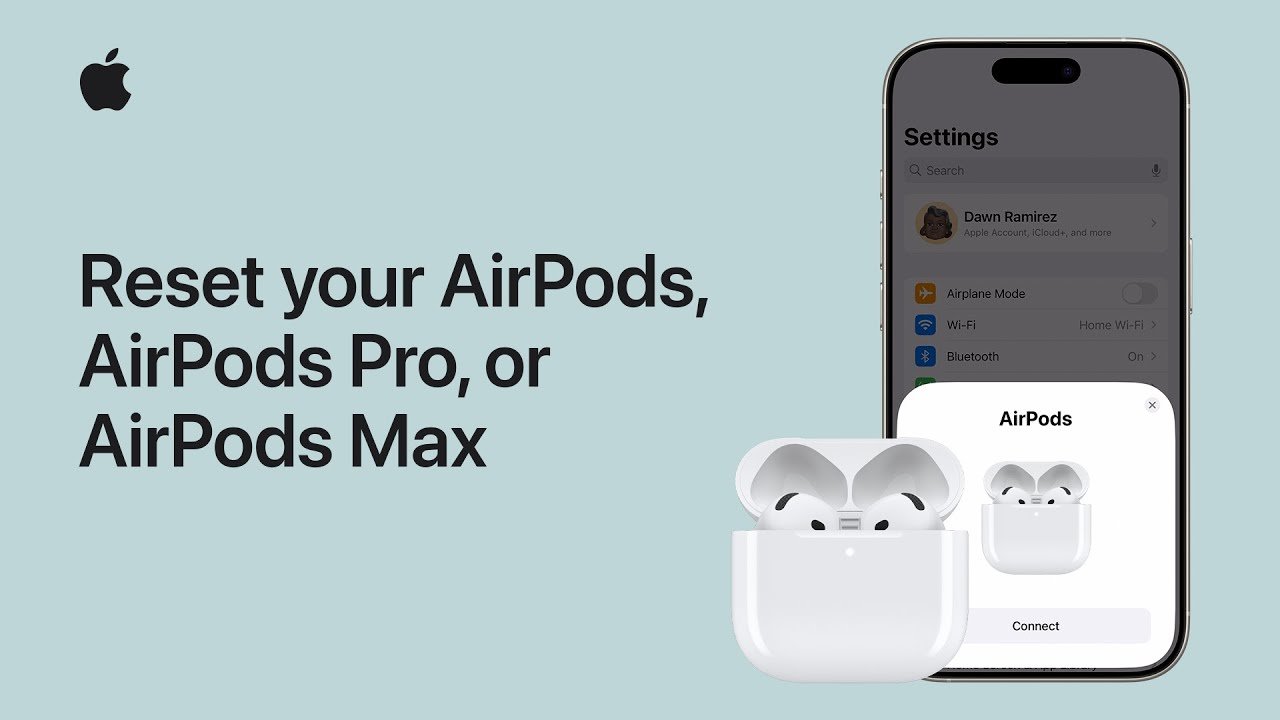
After resetting, your AirPods Pro are now like new. Bring them near your iPhone or iPad and open the case lid. A pop-up window should appear on your screen prompting you to pair. Tap Connect and follow the instructions. If you’re pairing to a non-Apple device, go to the device’s Bluetooth settings, look for “AirPods Pro,” and tap to connect.
How to Remove AirPods Pro from Your iCloud Account
If you’re giving away your AirPods or selling them, you must also remove them from your Apple ID. Otherwise, they will remain locked and unusable for the next person. Here’s how to do it:
- Open the Find My app on your iPhone or iPad
- Go to the Devices tab
- Tap on your AirPods Pro
- Scroll down and tap Remove This Device
- Confirm when asked — and you’re done!
Alternatively, visit iCloud.com, sign in, click Find iPhone, go to All Devices, select your AirPods, and click Remove from Account
Important: If you do not remove AirPods Pro from your iCloud, they will still be locked even after a factory reset. This feature is part of Apple’s Activation Lock security system.
Common Issues and How to Fix Them
AirPods Pro won’t reset
- Make sure both AirPods are inside the case and seated properly
- Charge your AirPods case — low battery can prevent a reset
- Clean the charging connectors on both the case and AirPods
- Press and hold the setup button for at least 15 seconds
- Restart your phone if they still won’t show as available
One AirPod not working after reset
- Clean the mesh and connectors
- Put both AirPods back in the case and repeat the reset
- Ensure both AirPods are charging
- Try re-pairing again using Bluetooth settings
How to Factory Reset AirPods Pro Without an iPhone
If you don’t have your iPhone with you, you can still reset AirPods using just the charging case:
- Put both AirPods Pro in the case
- Open the lid
- Press and hold the setup button on the back of the case
- Wait for the LED light to flash amber and then white
- Now pair them with any device via Bluetooth settings
This method works on Android, Windows, macOS, and any other Bluetooth-supported devices
What to Do After a Successful Reset
Once your AirPods Pro are reset and paired again, you can customize their settings:
- Rename your AirPods under Settings > Bluetooth > (i) icon
- Choose the left/right AirPod tap controls
- Set up Noise Control options like ANC, Transparency, or Off
- Enable Find My to locate them if they’re lost
- Check for firmware updates by connecting to your Apple device
Should You Always Reset AirPods Pro When You Have a Problem?
Not necessarily. Try these solutions before resetting:
- If sound is low, clean the AirPods and check your iPhone’s audio settings
- If Bluetooth is unstable, unpair and re-pair from the Bluetooth menu
- If only one AirPod is working, clean it and check for obstructions
- If battery drains too fast, try turning off features like ANC or update firmware
A factory reset should be your last option, especially if nothing else works or if you’re giving them to someone else.
Conclusion
Resetting your AirPods Pro is a simple but effective way to resolve software problems, improve connectivity, and prepare the device for new use. While the process takes just a minute, it can eliminate a range of annoying issues — from pairing failures to sound glitches. Just remember: if your AirPods are linked to your Apple ID, you must remove them from Find My or iCloud to fully unlock them. Whether you’re troubleshooting or transferring ownership, a proper factory reset is key to keeping your AirPods Pro working smoothly and securely.